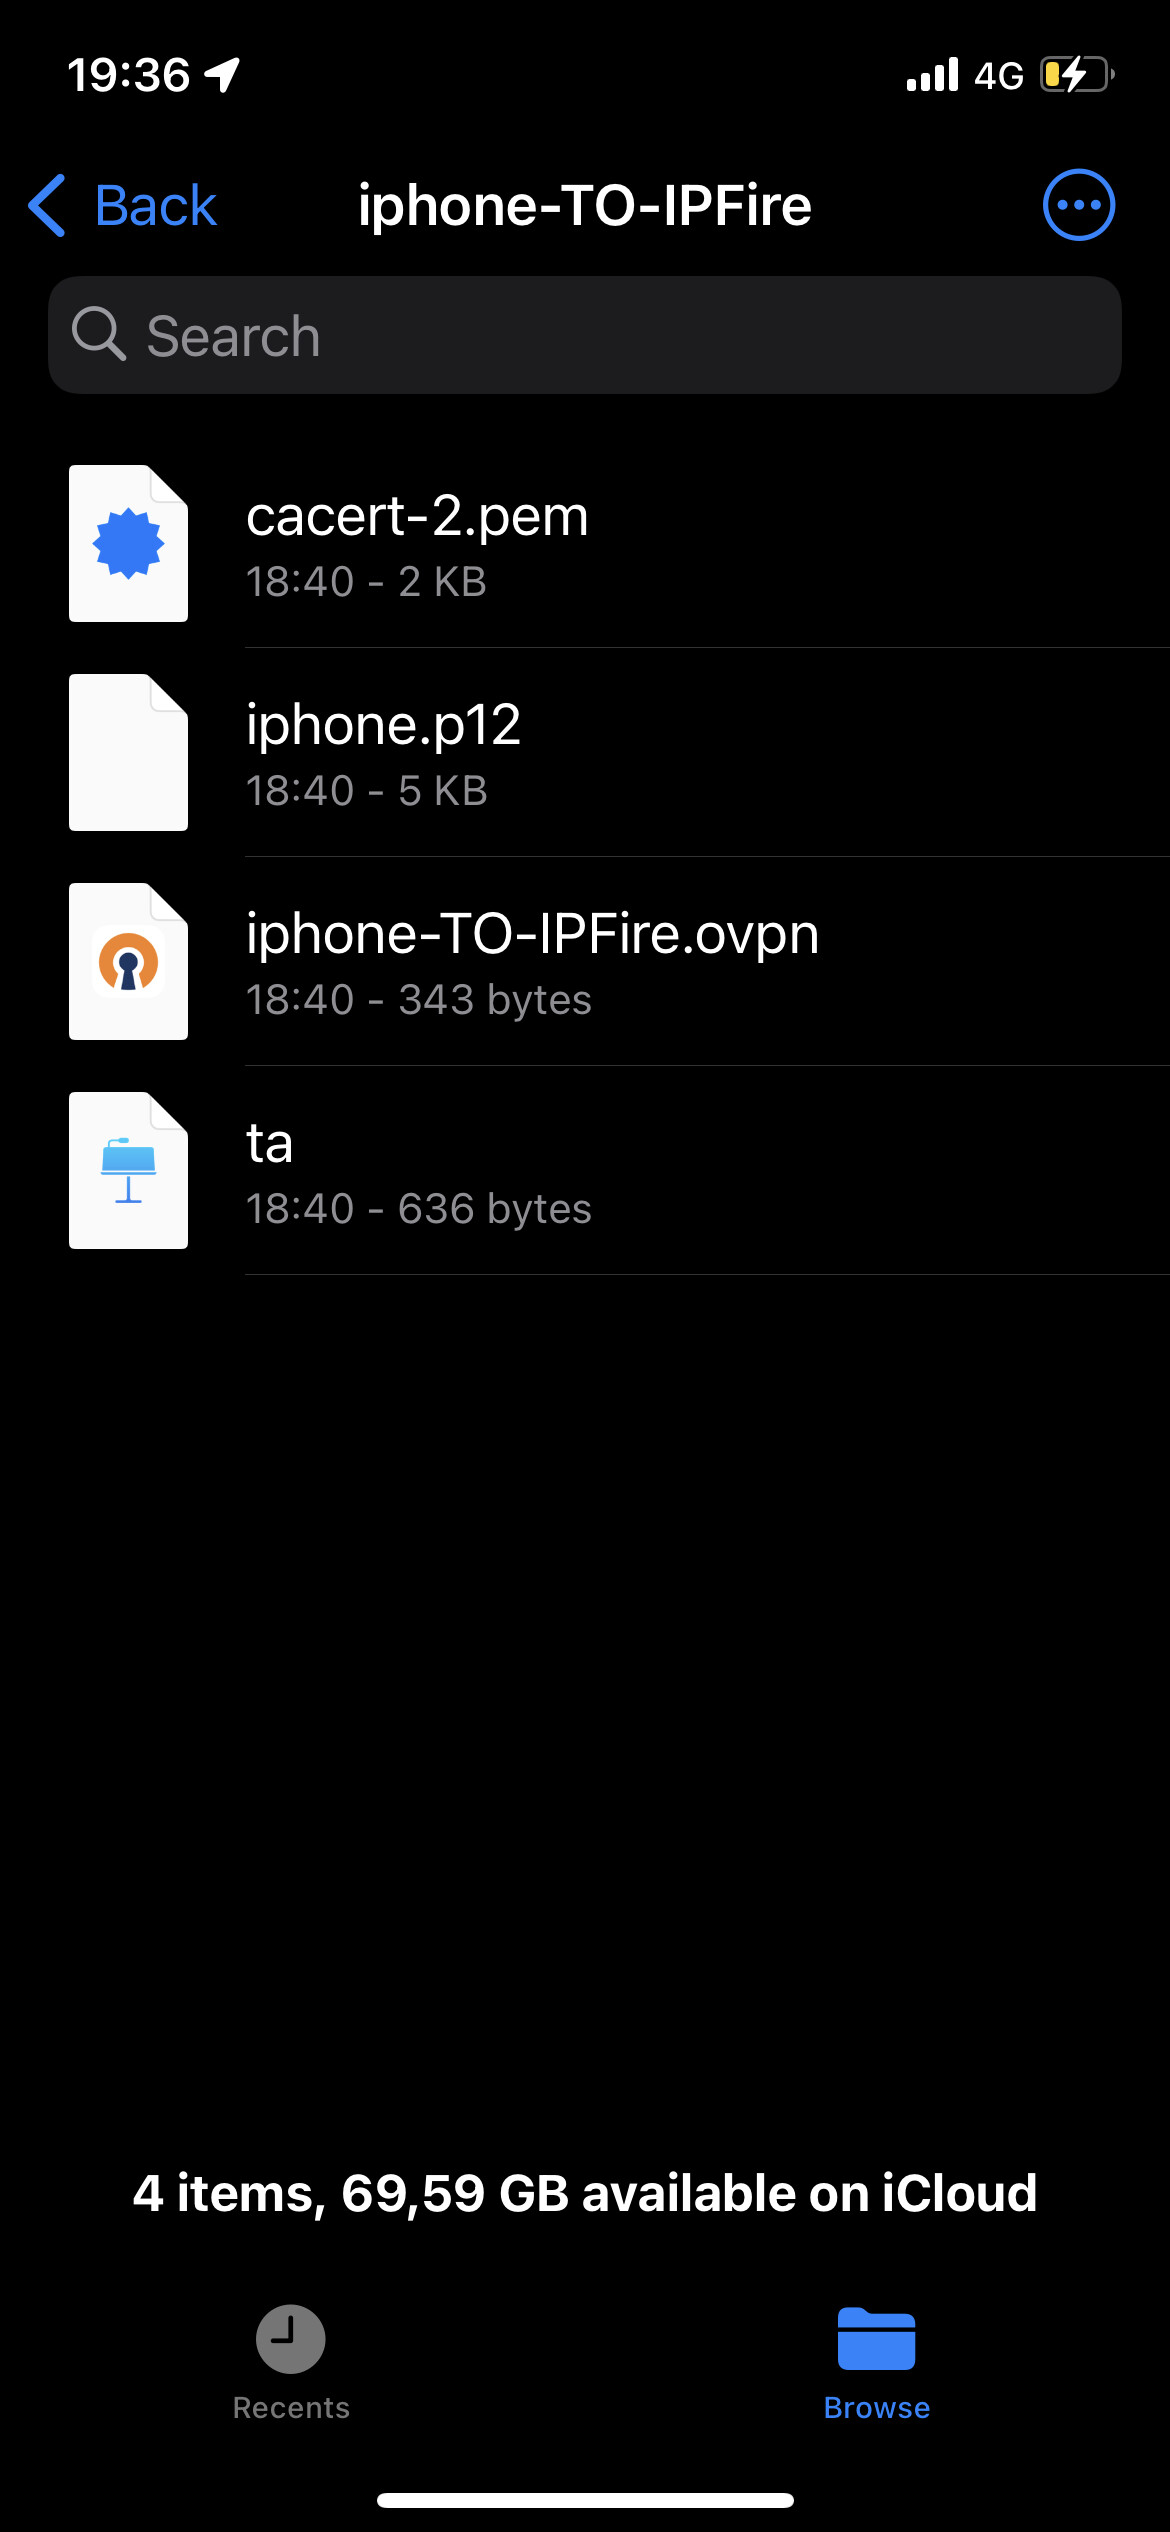
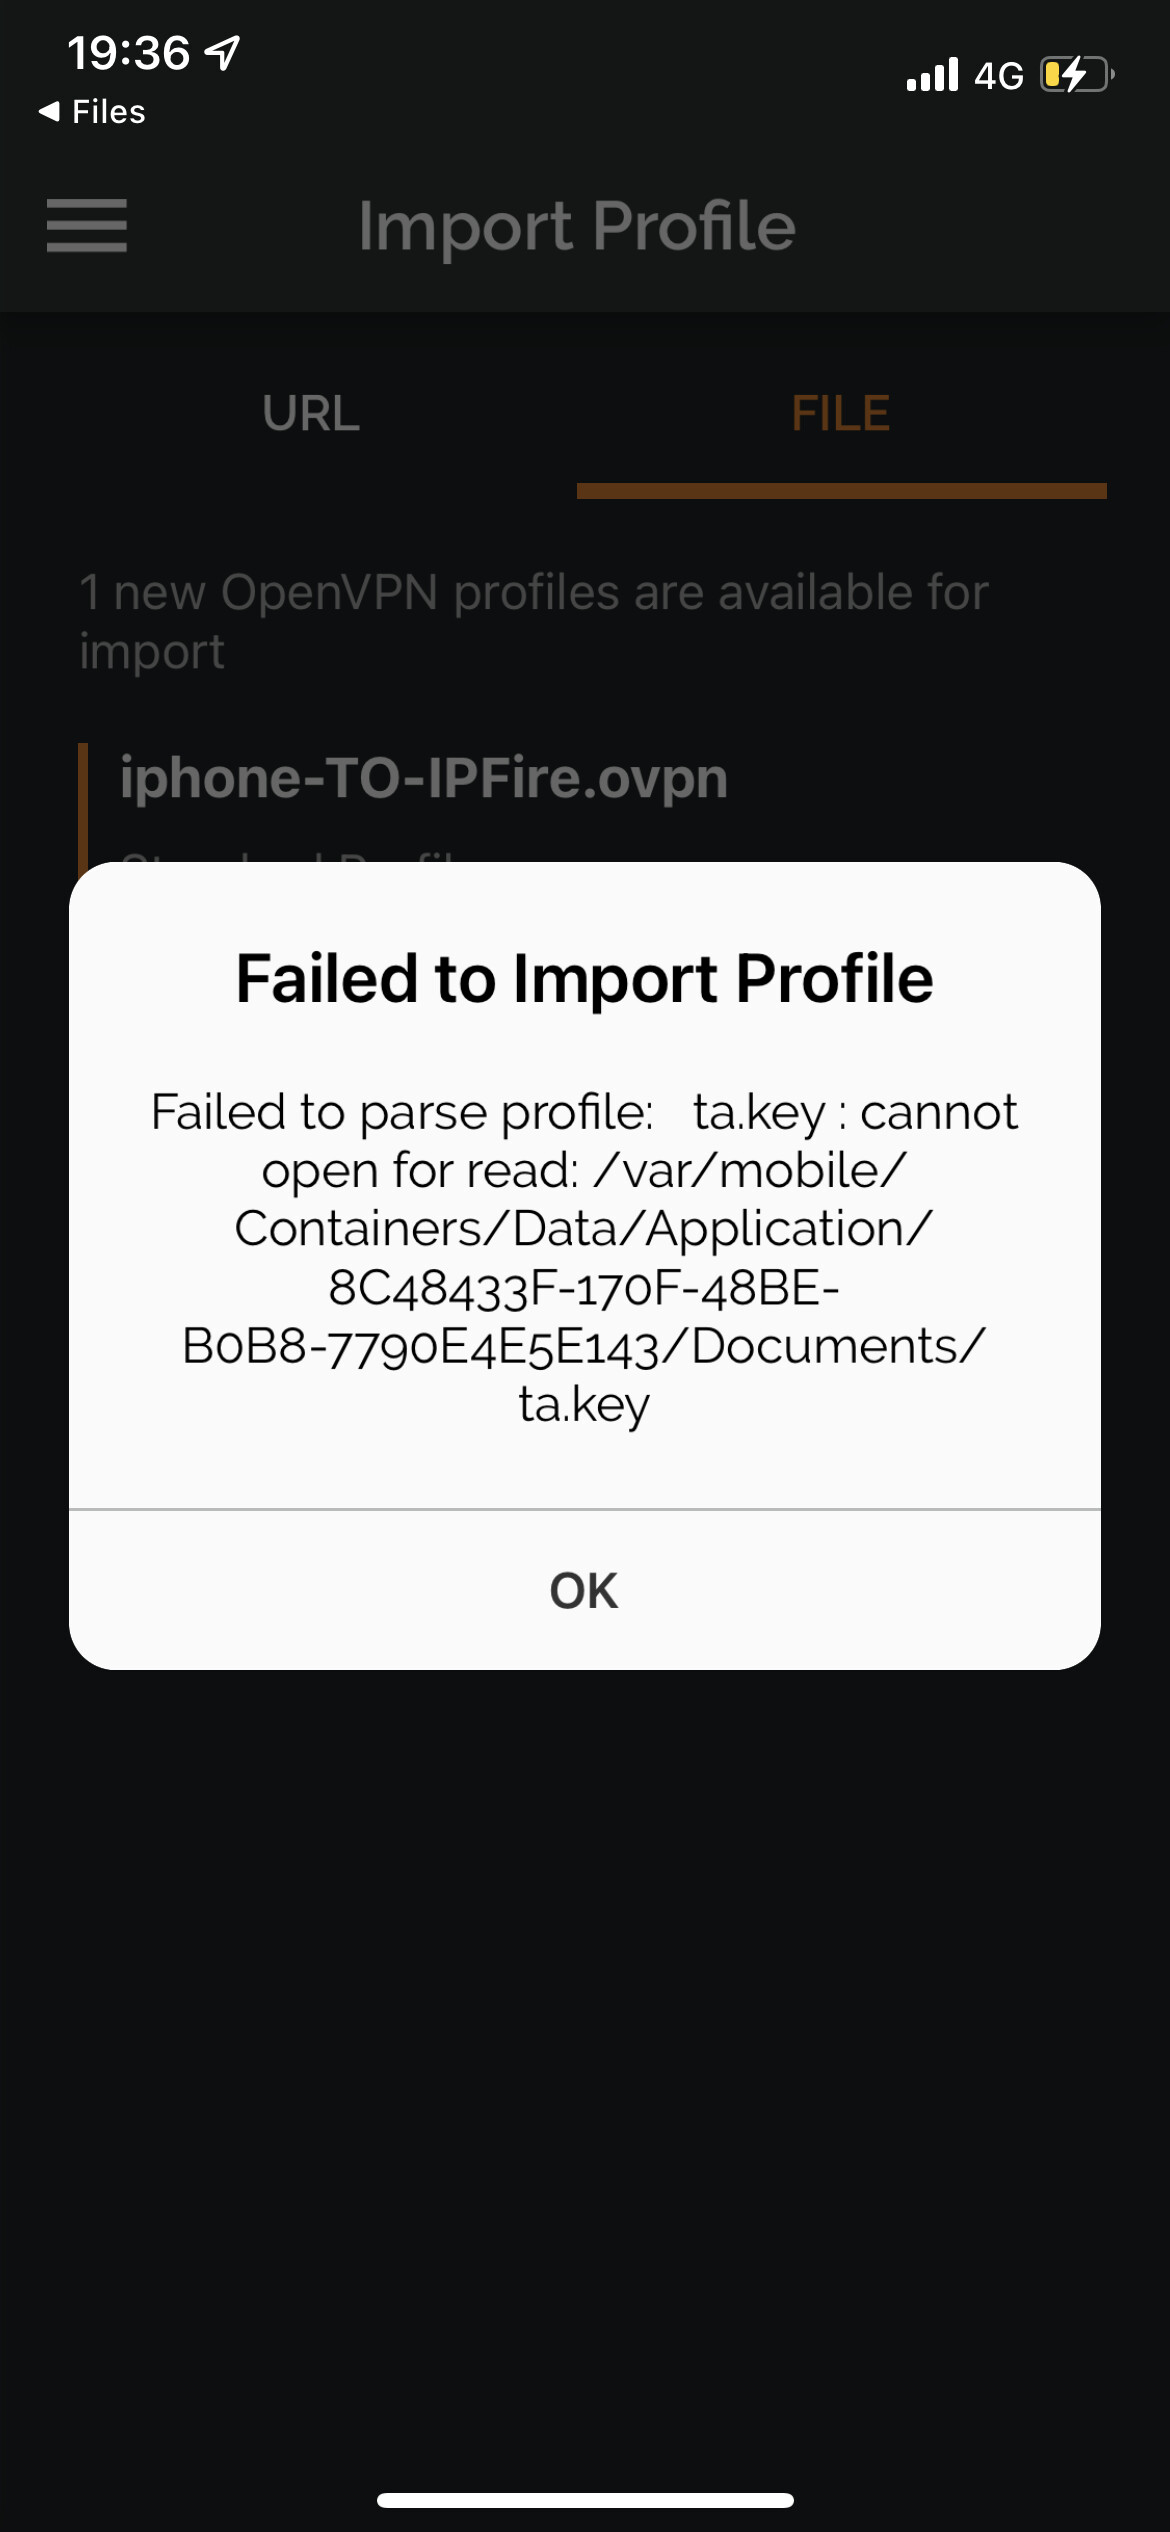
Hello guys, I generated certificates on ipfire. I imported .12 and .pem and when I try to import ovpn return me an error. Can you help please? Thank you ![]() !
!
You can embed the tls key directly in iphone-TO-IPFire.ovpn
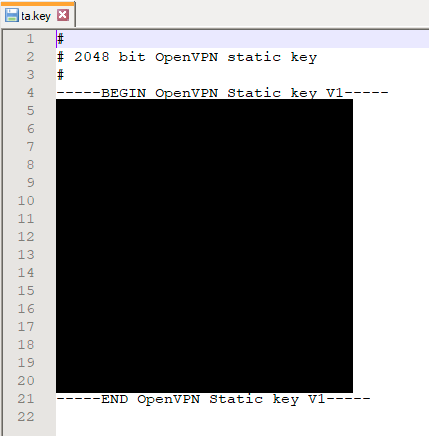
Open the ta.key with a text editor and copy the entire content delimited by and including the following lines:
-----BEGIN OpenVPN Static key V1-----

-----END OpenVPN Static key V1-----
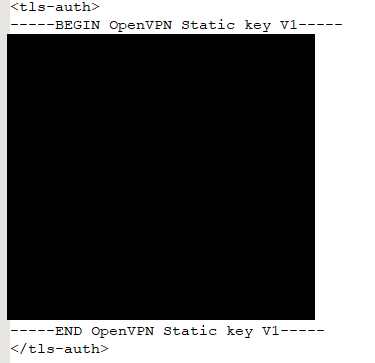
now open iphone-TO-IPFire.ovpn in a text editor and paste all the above inside the following xml tags:
<tls-auth>
</tls-auth>
save and try to import again the file in the ios machine.
2 Likes

Probably I should copy from inside .pem to
inline .ovpn?
———BEGIN CERTIFICATE
……
———END CERTIFICATE
?
[edit]
After entering the contents of ta.key
in the file iphone-TO-IPFire.ovpn you need to comment out the following
#tls-auth ta.key
edit
I deleted that line. Otherwise same error.
Have you had a look at the iOS page in the wiki
https://wiki.ipfire.org/configuration/services/openvpn/ios
About 2/3 of the page down there are three links, one for a manual method, one for a scripted method and one using the iOS keychain
1 Like
As I abandoned ios ecosystem years ago, this information might be outdated and also incorrect as I go by memory. There are two methods for importing a profile + key on ios. The simpler and less secure, and the more complicate but highly secure.
The simple one, you embed all certificate on the .ovpn file as you did with the tls. You need a computer with openssl installed so that you can extract the certificates from the .p12 file first. Than it is a matter of copy and past in the appropriate xml tags.
In the second, you first import the .p12 file in the keychain (with the extension changed to .ovpn12), and then you import the .ovpn file, but you still need to extract and embed the ca.crt in the .ovpn file. Assuming you have already embedded the tls certificate, these are the steps to follow (if my memory is correct)
- create the ca.crt
openssl pkcs12 -in client.p12 -cacerts -nokeys -out ca.crt
- embed ca.crt in .ovpn file
<ca>
paste contents of ca.crt here
</ca>
-
transfer the .ovpn file and the .ovpn12 file (the original .p12 renamed) to the openvpn app home directory using the file transfer facility of itunes or follow this guide
-
start openvpn app and it should import both the .p12 certificates and .ovpn file. Chose the certificate imported as the one to use with that profile.
A gigantic pain in the neck, as the howto from openvpn people is confusing to say the least.

Are you talking about this guide?. There are more than 3 steps. By the way, do not use those scripts in the second and third link. They are broken. You can use them to understand what are the manual steps, but do not try to use them as is because it wont work.
Yes, I did it all… At least I manage to install profile in openvpn… Maybe with Wireguard(in the future hope) is more straight forward… ![]()
then probably did not copy in the correct way the certs. Check with the image at the end of the guide which shows you how they should look.
1 Like
I will give a try…thank you
Which links are broken? I tried the links and all seems OK…
All working fine here but I used the Insecure package: the one that contains in the .ovpn file the ca.cert, ta.key, etc…

The links are fine, with broken I meant the script is not functioning. If you follow the procedure described in Scripted Method to create a unified .ovpn file and in iOS Keychain Method you will see that the shell code needs some fixing.
I do not have the time, but I think the ios OpenVPN page should be rewritten to describe the two methods in a way that makes clear what steps are necessary and more importantly, why. Once there is a clear description, then the shell code to do all the job in one go could be corrected. I hope to be able to do the job before my last iOS machine dies, or that someone else will create that guide. In case, I am available for help.
I do not think that the insecure package option is available in the recent versions of IPFire.
The insecure package is still present.
It only shows up when you have created a p12 certificate without a password.
There is a bug that under certain conditions with a p12 with a password the insecure icon shows up as well. If you try and use it in that situation then you will get an error code as it will not require a password but the openssl command in the openvpn cgi code will be expecting one.
The way it should work is if you didn’t use a password then you should only get the insecure option and if you used a password then you should only get the secure option.
1 Like
Thank you @bonnietwin , I thought the option was removed.
Should this page be updated with this information?
EDIT: I just tested what @bonnietwin said, and he is (as usual) 100% right. Not setting a password on the p12 file will allow the download of the unified .ovpn file, prepared by the fine people at the IPFire project. That whole section of the wiki explaining how to manually create the unified file should be substituted with just “create a passwordless .p12 file, download the insecure package, send the file to your phone, open OpenVPN connect, done!”. A full tutorial should instead be dedicated to the keychian method with a password protected .p12 file.